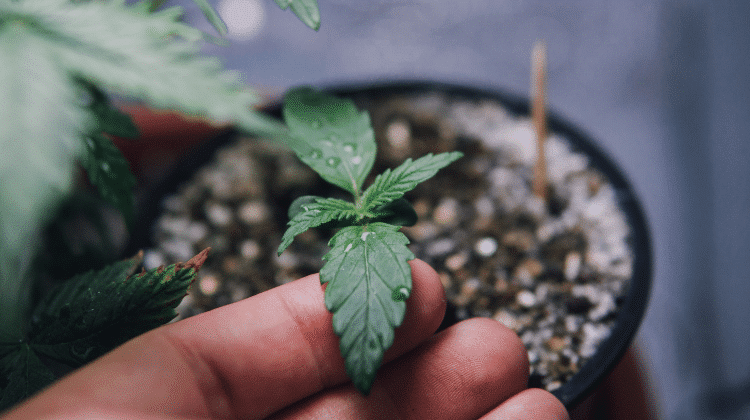
Are you ready to grow weed but do not know where to start? Have you been searching all over the internet only to find way too many articles with too much to read? Don’t worry – this will not be one of those long never-ending articles. We promise we’ll be quick and straight to the point.
Learn how to grow weed step by step by following the below list.
Step 1: Choose your location
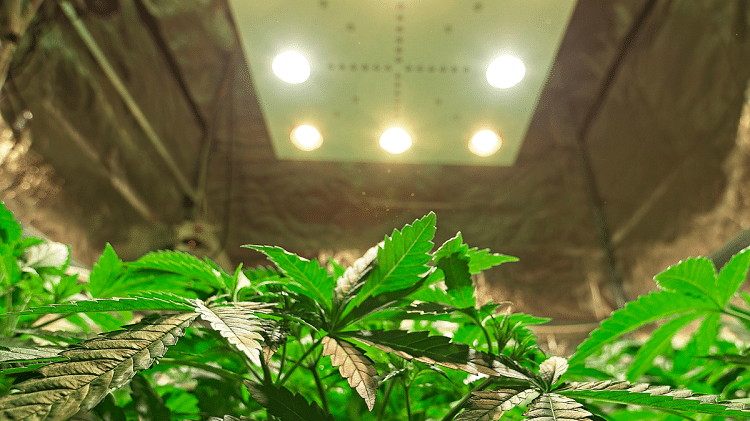
This will be easy for Maltese growers since the law states that you can only grow weed indoors. Indoors is more private and you can also control your environment better. However, this also means that your plant is under your sole care. You can grow weed almost anywhere that has access to water and fresh air. A spare bedroom works well, as well as a grow tent, a garage, and a closet. You should also consider the temperature here. Young plants will need a warmer temperature (around 20-30 degrees) while older plants which are in the budding/flowering stage will need to be kept in a cooler temperature (around 18-26 degrees). Consider your grow lights carefully, especially during the hotter months.
Step 2: Choose your light
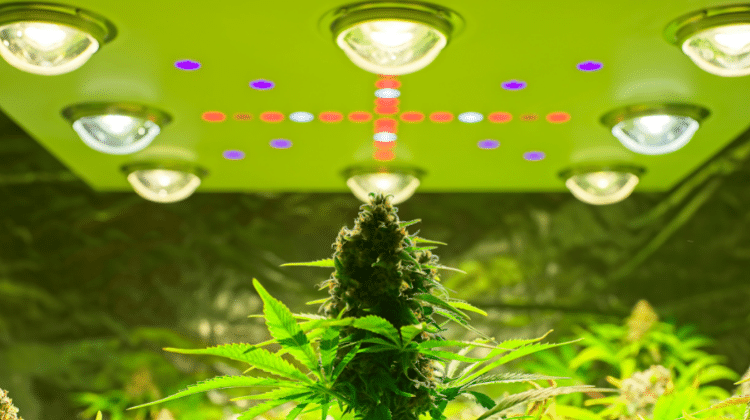
Choosing grow lights for cannabis
There are a number of different growing lights including the sun, light bulbs, other fluorescent lights, LEC grow lights, LED grow lights, and others. If you’re using your sun as your natural resource light, you will need to make sure that your plants are getting around 8 hours of direct sunlight. Growing near a window (but make sure it’s not too visible) is essential here.
Step 3: Choose your growing medium
Each growing medium available will require different care and watering requirements. Here’s your choice of growing mediums:
- Soil: organic composted soil is preferred for an easier growing experience. Your best option is to compost your own soil. These are easy and low-maintenance which might prove to be a good option for beginner growers.
- Soilless mix: coco coir, perlite, vermiculite.
- Water: this can create a fast plant growth, especially when combined with HID/LEC/LED grow lights.
- Hydro: some people grow weed with plant roots suspended in the air or in a tank with fish but these growing mediums are less common.
Step 4: Choose your nutrients
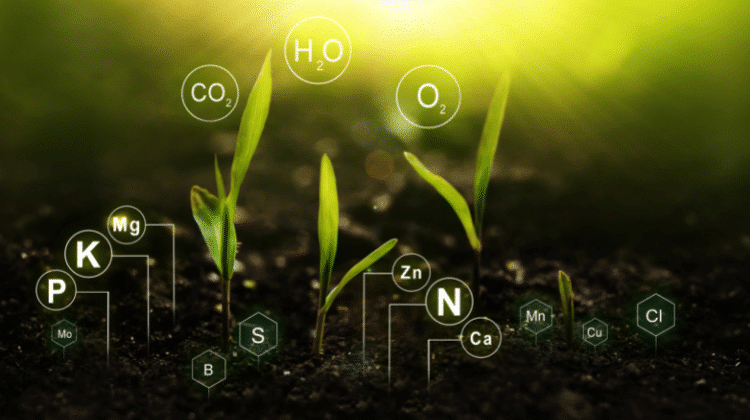
Unless you are using composted super soil, you will need nutrients for your cannabis plant to grow. Nutrients are highly important in the flowering/budding stage since your plants will turn into heavy feeders and they would have used up most of the nutrients in the soil. It is also important to test the pH of your water to prevent nutrient problems since if the pH is too high or too low, your plant will not absorb the appropriate nutrients.
Step 5: How to germinate your cannabis seeds
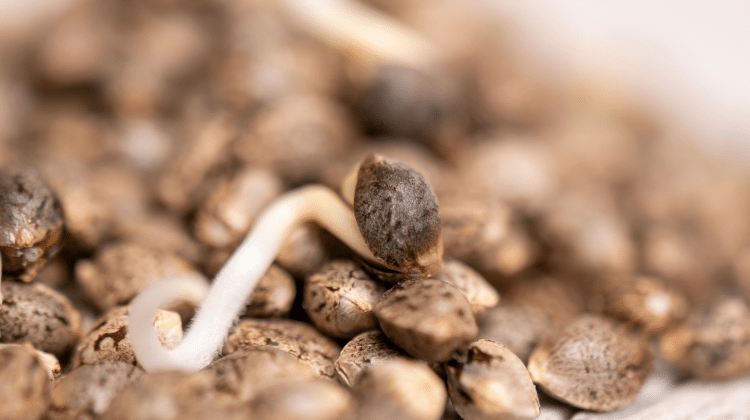
Germination is when a seedling sprouts from a seed. Once the seed has been germinated, it can then be transferred to a growing medium. There are two common germination methods: the paper towel method and germination trays. We will get into more detail about germination in the next blog post so keep a lookout!
Step 6: Vegetative stage
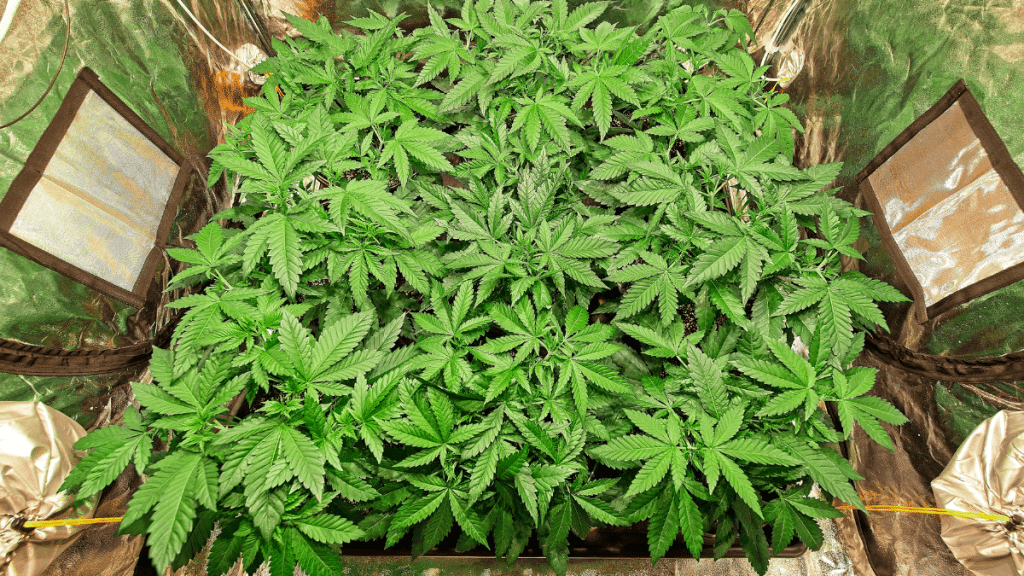
This stage is when the plant is leaving the seedling stage and actually becoming a real plant. Leaves will start to grow here but you still do not have a flower to trim. You can ‘tune in’ to your plant here as it will show you whether it needs more water, nutrients, etc.
Step 7: Flowering stage
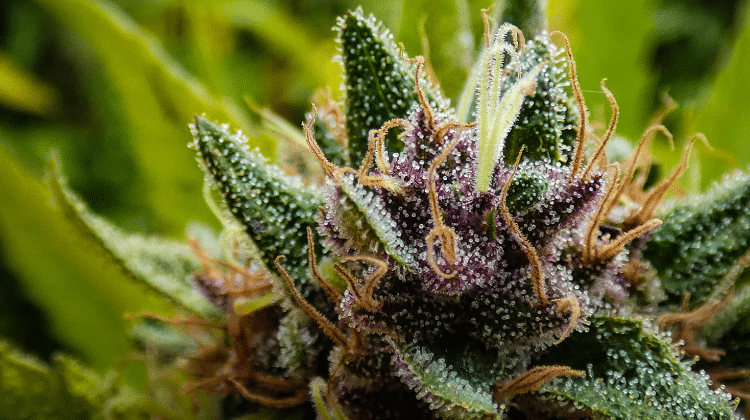
Here’s where your hard work is put into practice. At this stage, you will need to lower the temperature to 18-26 degrees. You will need to accomplish two tasks in this stage:
- Adjust your light schedule – 12 hours of total darkness and 12 hours of total light are needed at this stage.
- Identify your plant’s gender – female plants grow flowers while male plants do not. You can only get smokeable flowers from female plants.
Step 8: Harvesting your weed
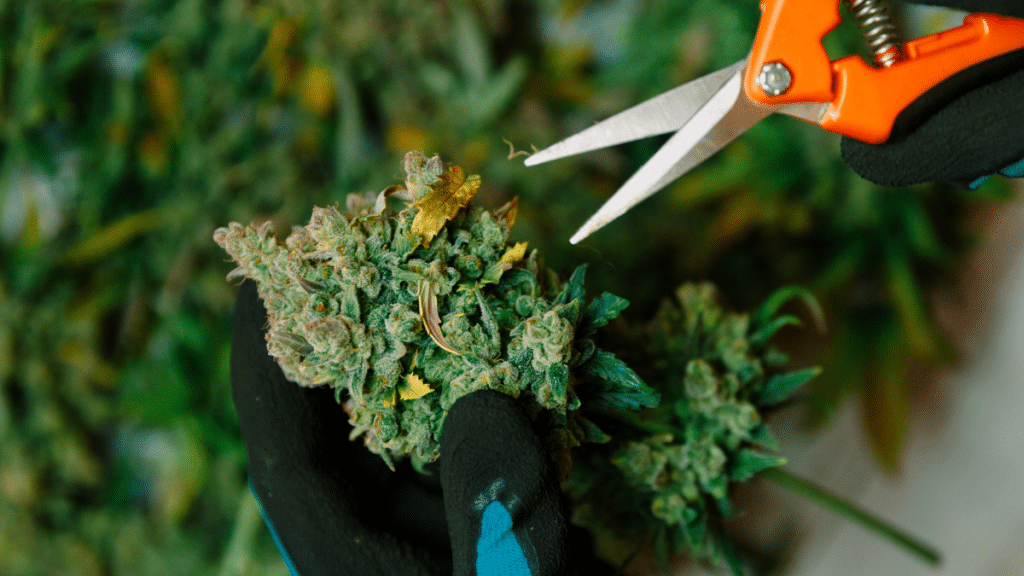
The harvesting window starts when your flowers stop growing white hairs. Now you have three options to cut down your flower buds:
- When half of the white hairs have turned darker for low potencies.
- When a little more than half of the hairs have changed for maximum THC potency.
- When most hairs have turned darker for potent relaxing effects but lower THC levels.
All you need for picking and trimming is a pair of scissors to cut the flower from the plant and then trim the buds from their stems.
Step 9: Dry and curate
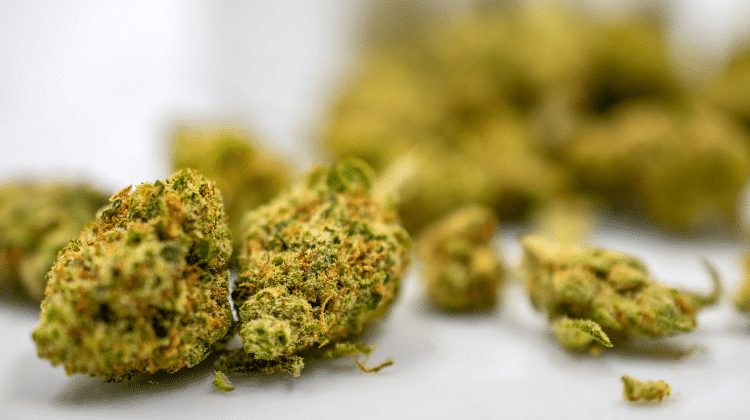
This is your last step in which you leave your flower ready to smoke. Take your trimmed buds and hand them upside down in a cool, dark place. You can use a closet here but make sure that it has rough ventilation and low humidity. When the thinner stems snap and the thick stem is bendy, your buds are officially dry enough.
The next step is to take them down and finish trimming the stems to place them in glass mason jars. Make sure that you seal the jars tightly and fill them roughly at 3/4 of their capacity. Open the jars every day for a few seconds for the initial three weeks of the curing process. If your buds have felt dry for a week every time that you open the jars, then you will be able to open the jars only once a week.
The curating process can take up to 30 days but this depends on your own taste.
That’s it! 9 simple steps and you’ve got your first cannabis harvest!
Conclusion
You now understand the fundamentals of marijuana cultivation, from seed to harvest. It’s time to equip yourself with the necessary equipment and begin right away. And remember to take notes, or even better, follow our 420 blog for more tips!
